How to Create, Train, and Deploy an Object Detection Model with vfrog
Jump into your platform workspace and manage computer vision projects with ease. Here’s how to create a new project, organize your data, use agentic self-annotation, and deploy your trained model with an API key.
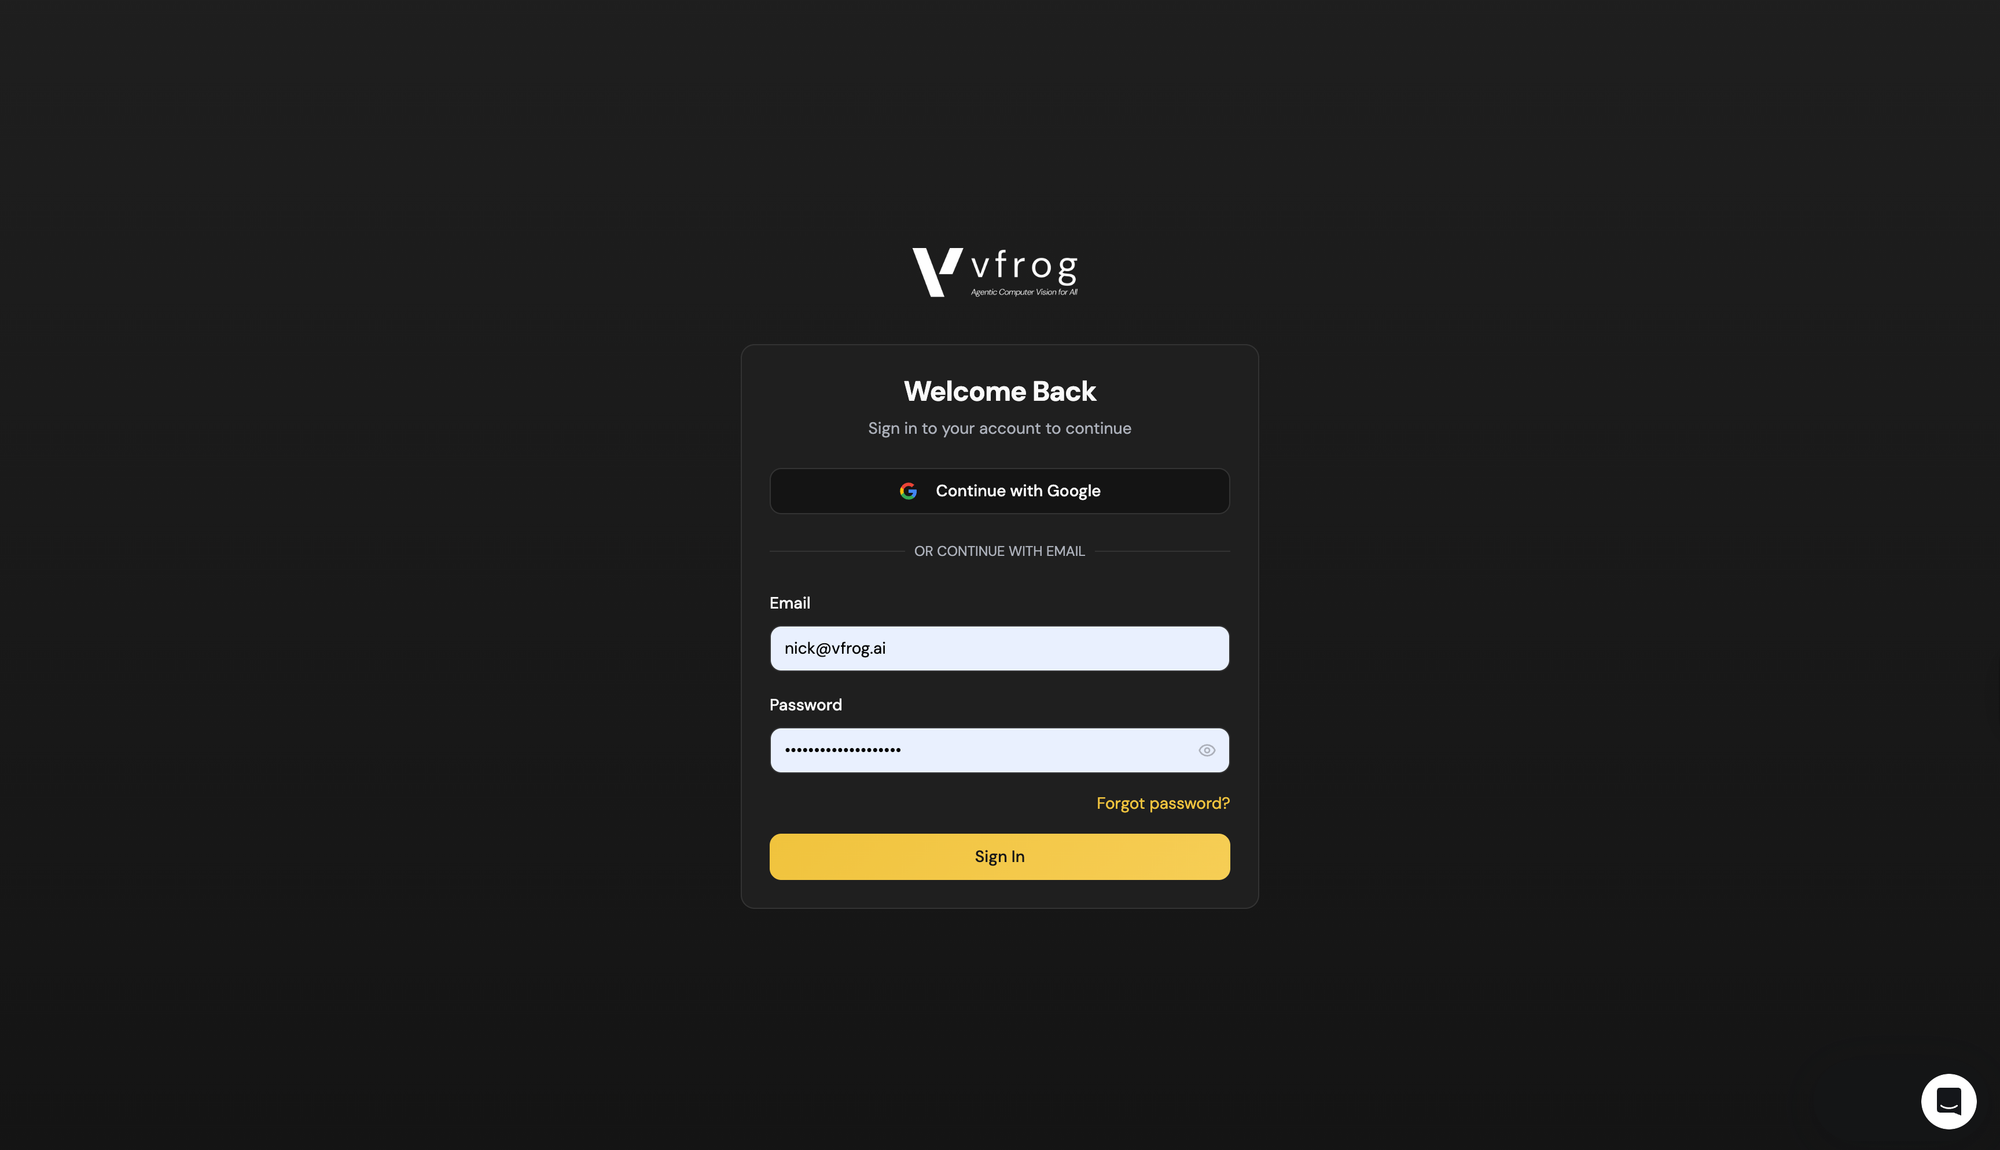
Step 1: Log in to the platform with your credentials.
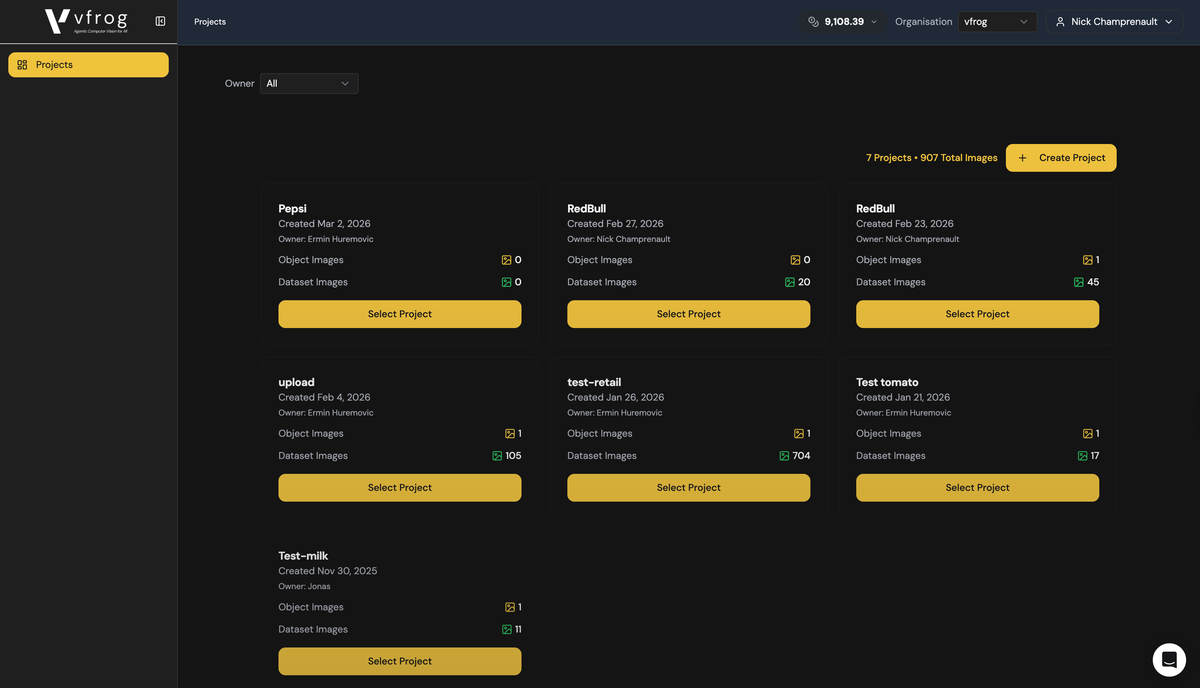
Step 2: On the dashboard, click Create Project and enter a project name — for example, Demo.

Step 3: Select your newly created project to start managing assets.
Step 4: Click Upload Object to add an item you want the model to recognize. Provide a Class name (e.g., Red Bull) and a Label name (e.g., Energy 250 Classic).
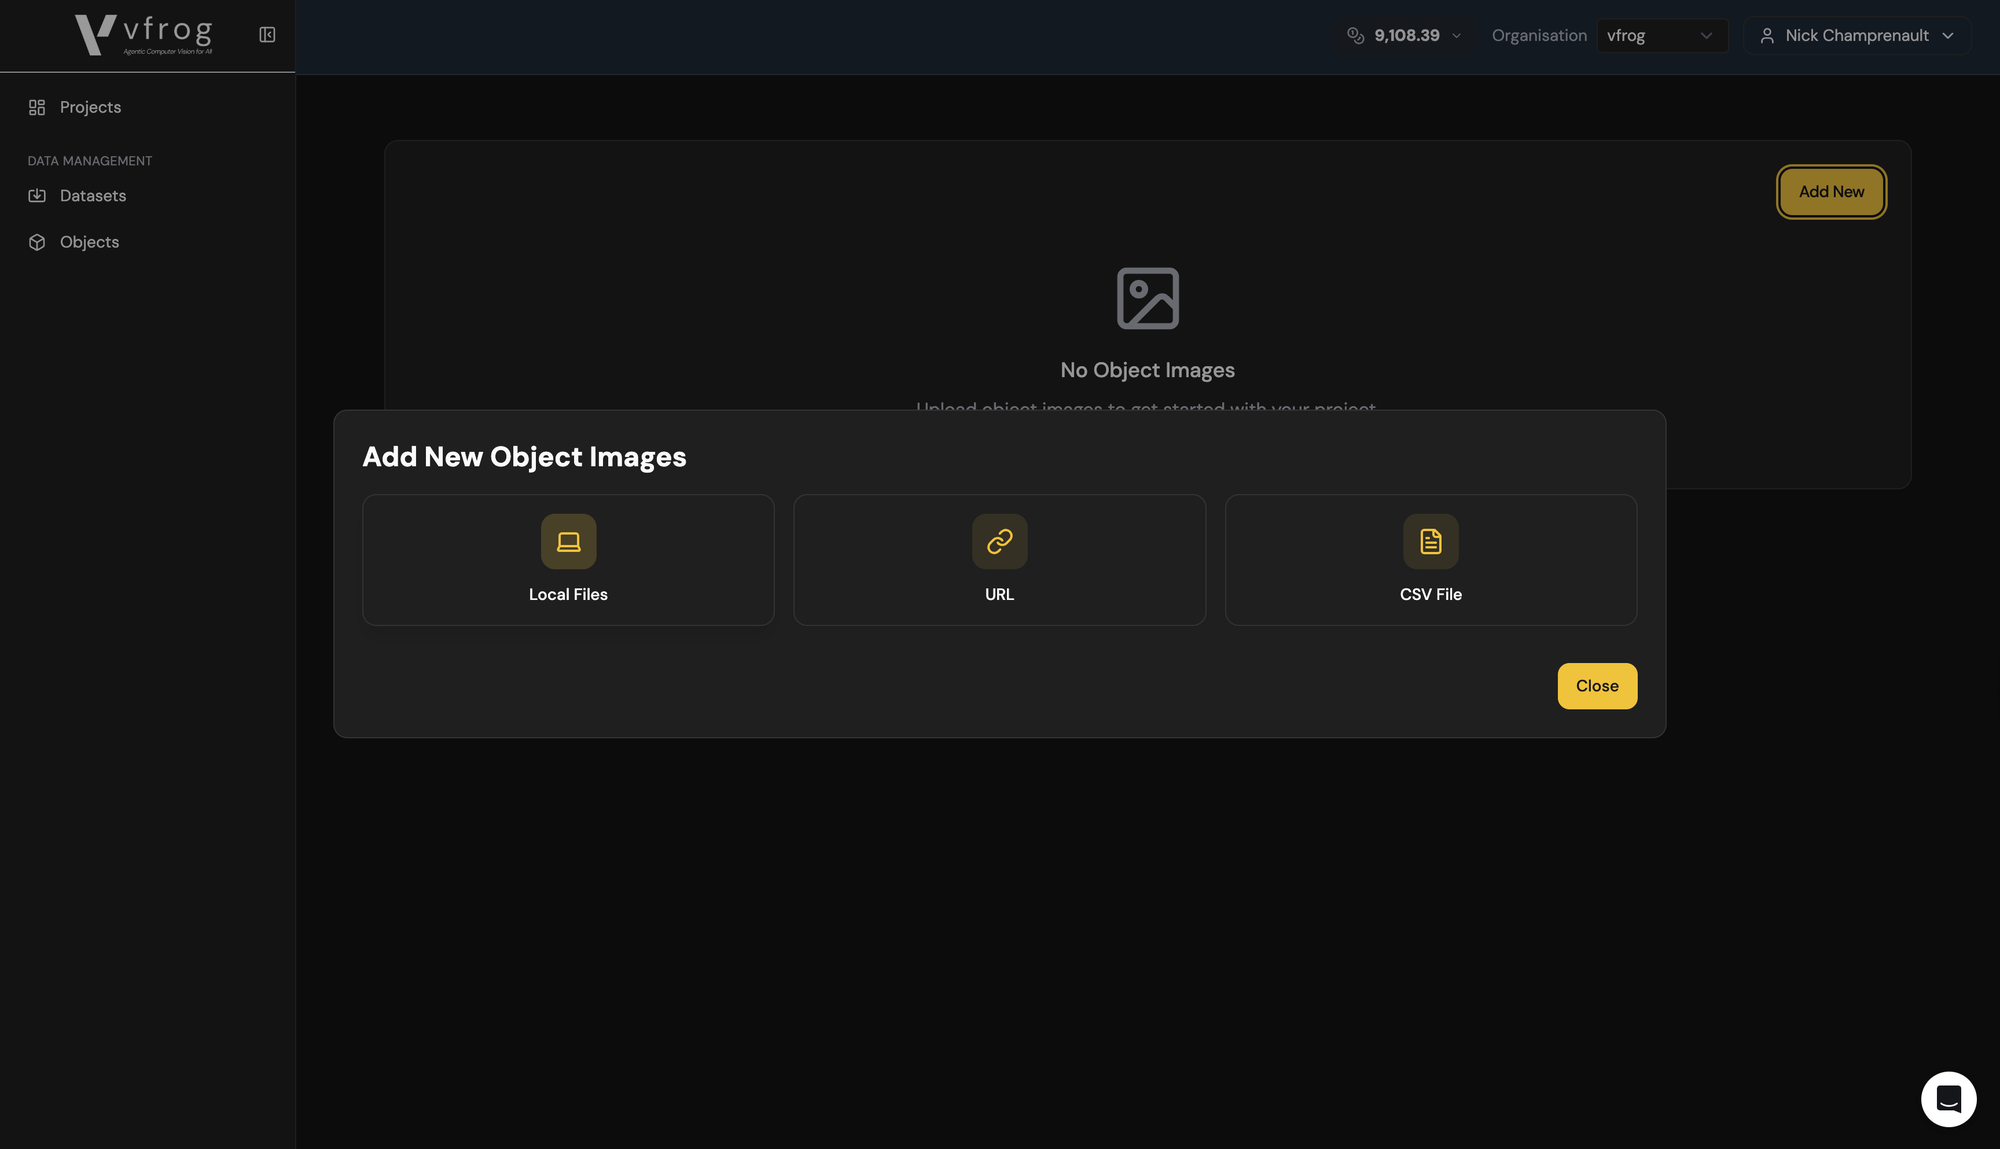
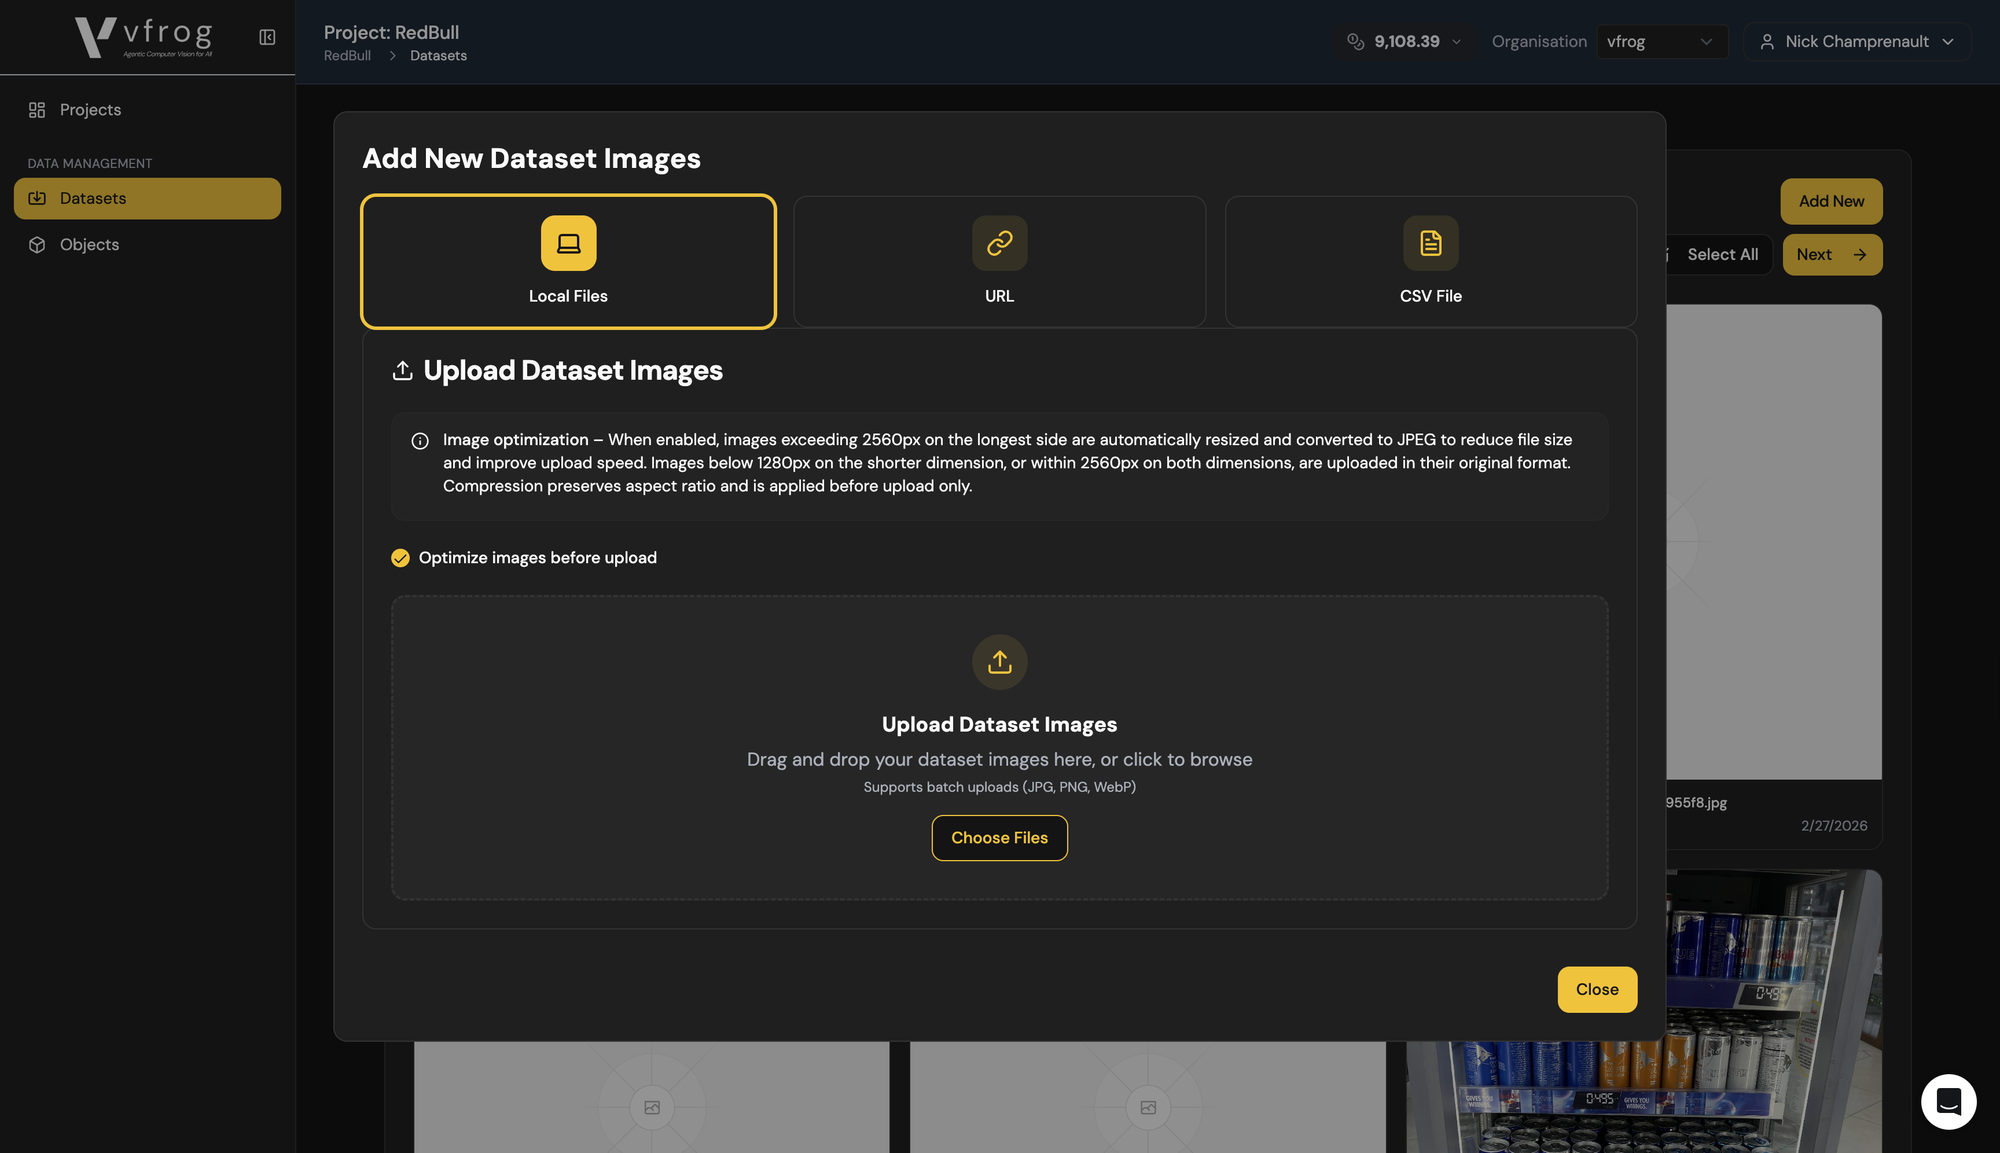
Step 5: Upload a dataset of images featuring the object (in this example, three photos of Red Bull cans).
Step 6: Once your images are uploaded, launch the Self-Supervised Annotation Tool (SSAT). Choose your project and start generating annotations. The process runs automatically and can take 10-15 minutes.
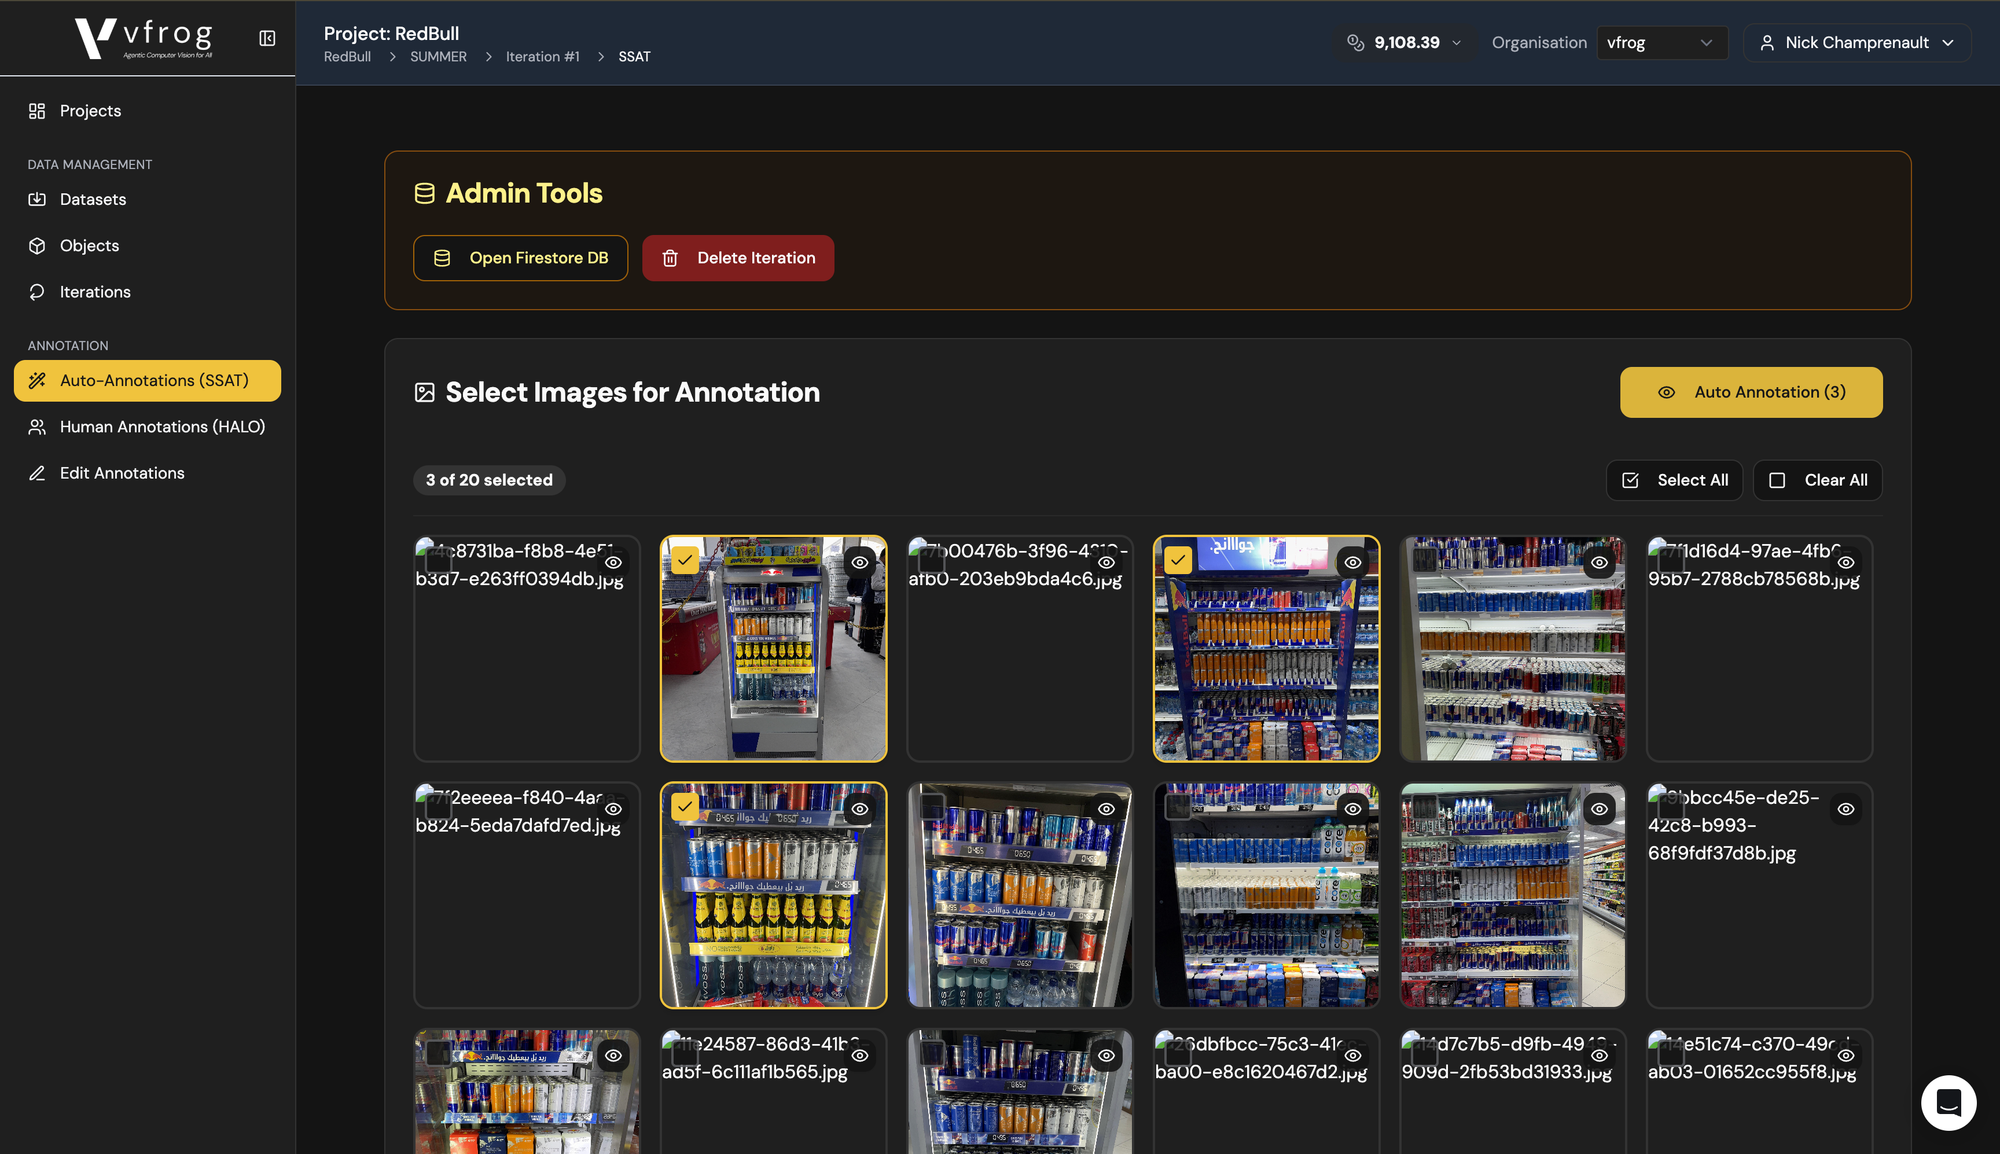
Step 7: Review the generated labels. Head to Human Assisted Labeling of Object (HALO) to refine results:
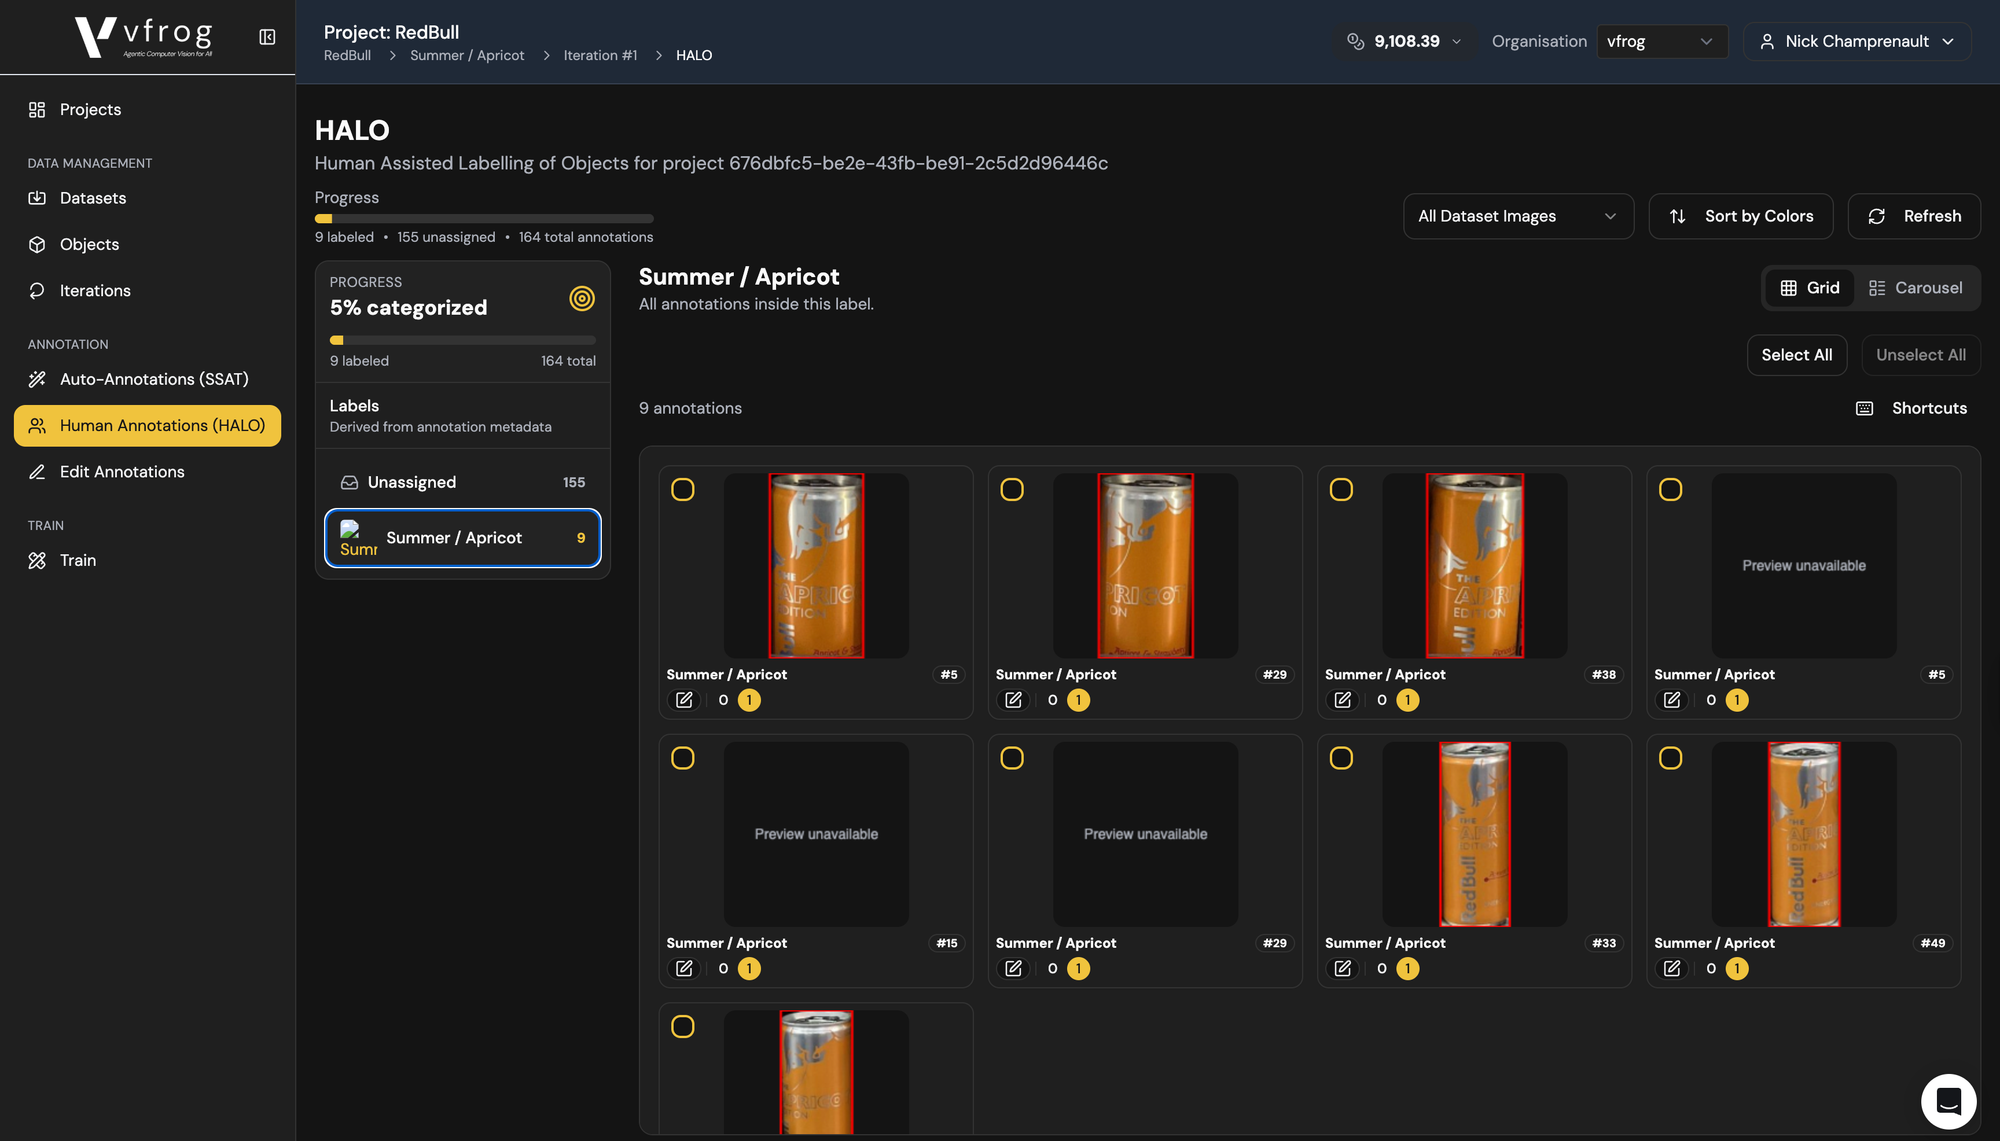
- Add any missing (false negative) objects by selecting them.
- Remove any incorrect (false positive) labels, such as different Red Bull variants not relevant to your target.
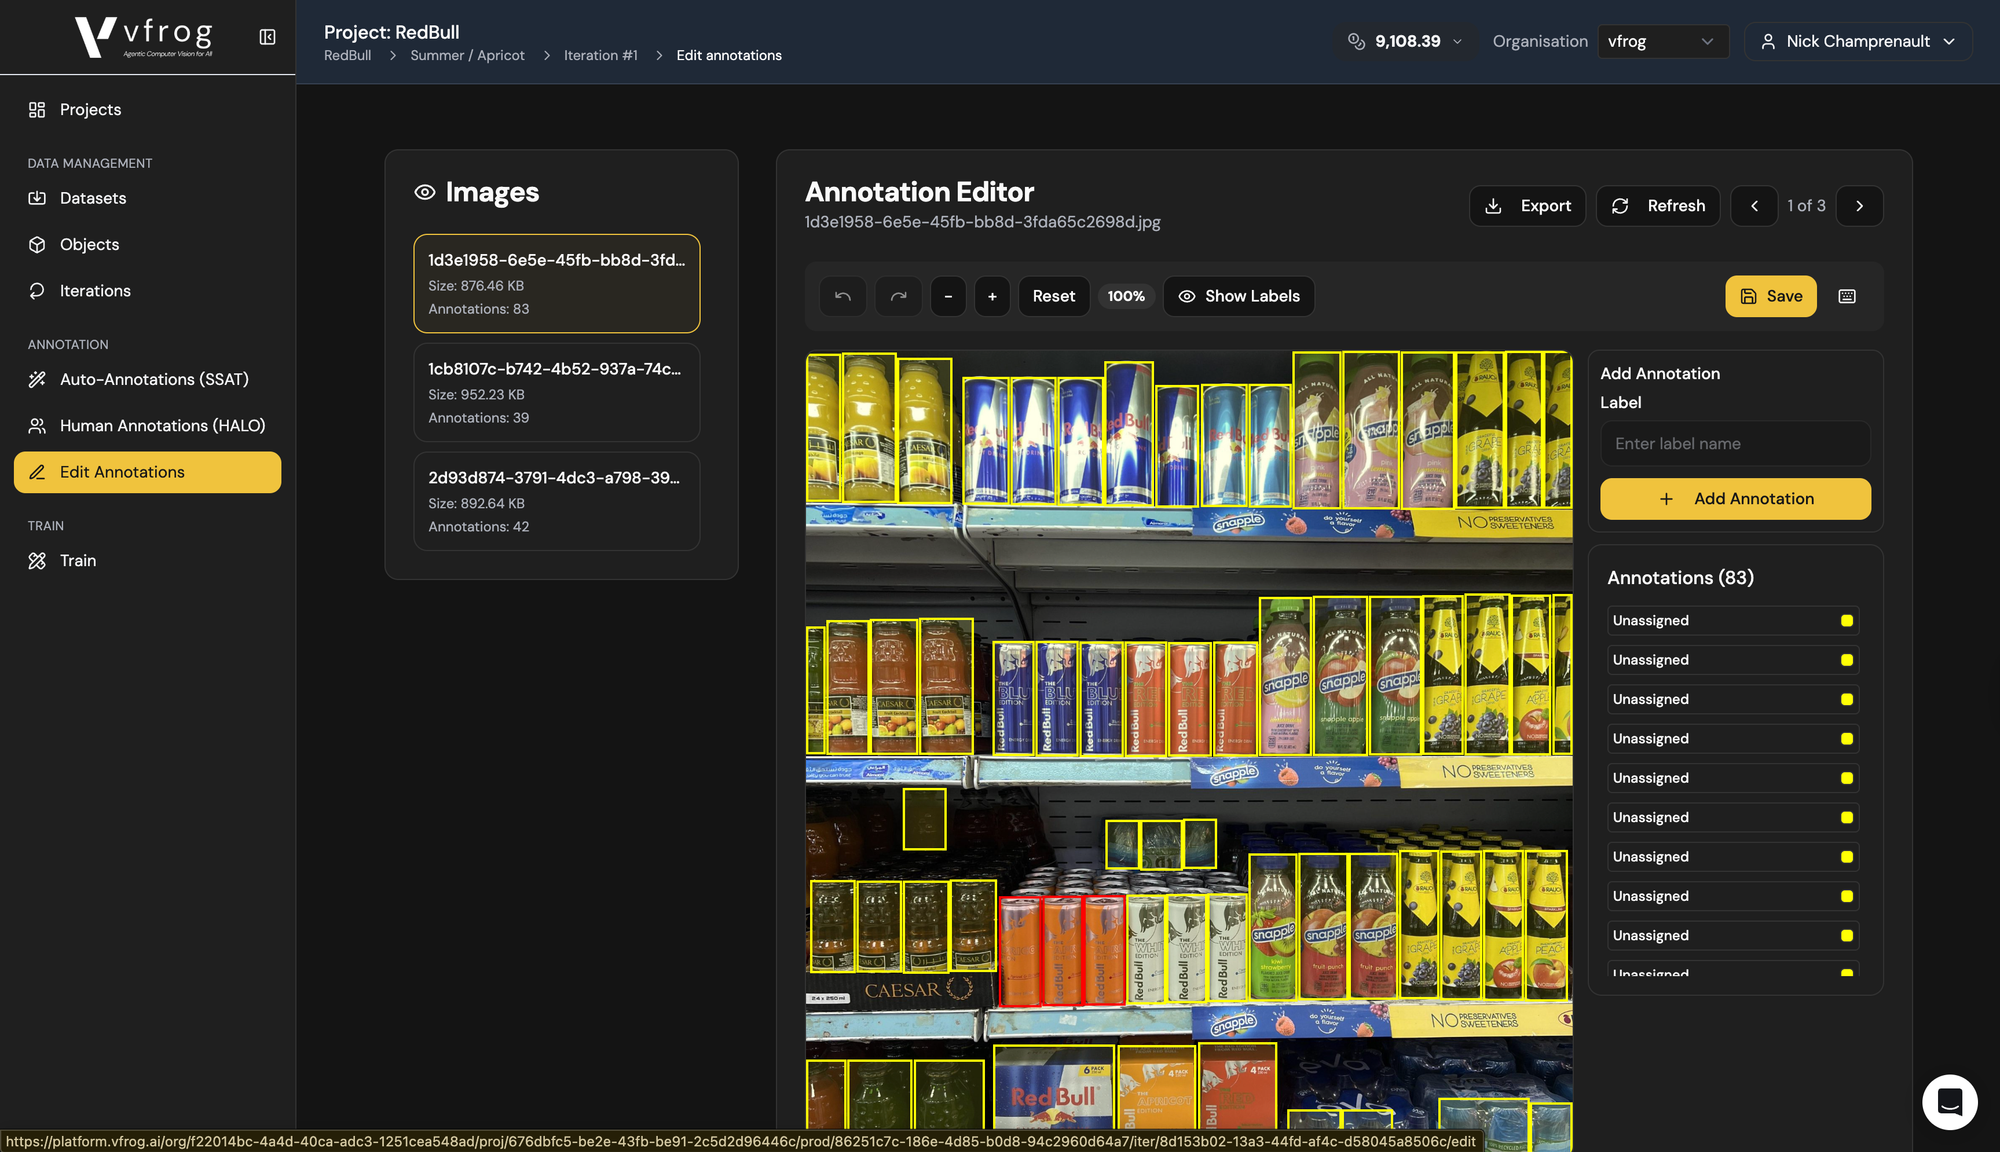
Step 8: Use the Edit Tool to fine-tune bounding boxes. Adjust shapes, remove unwanted reflections, and clean up imperfect annotations.
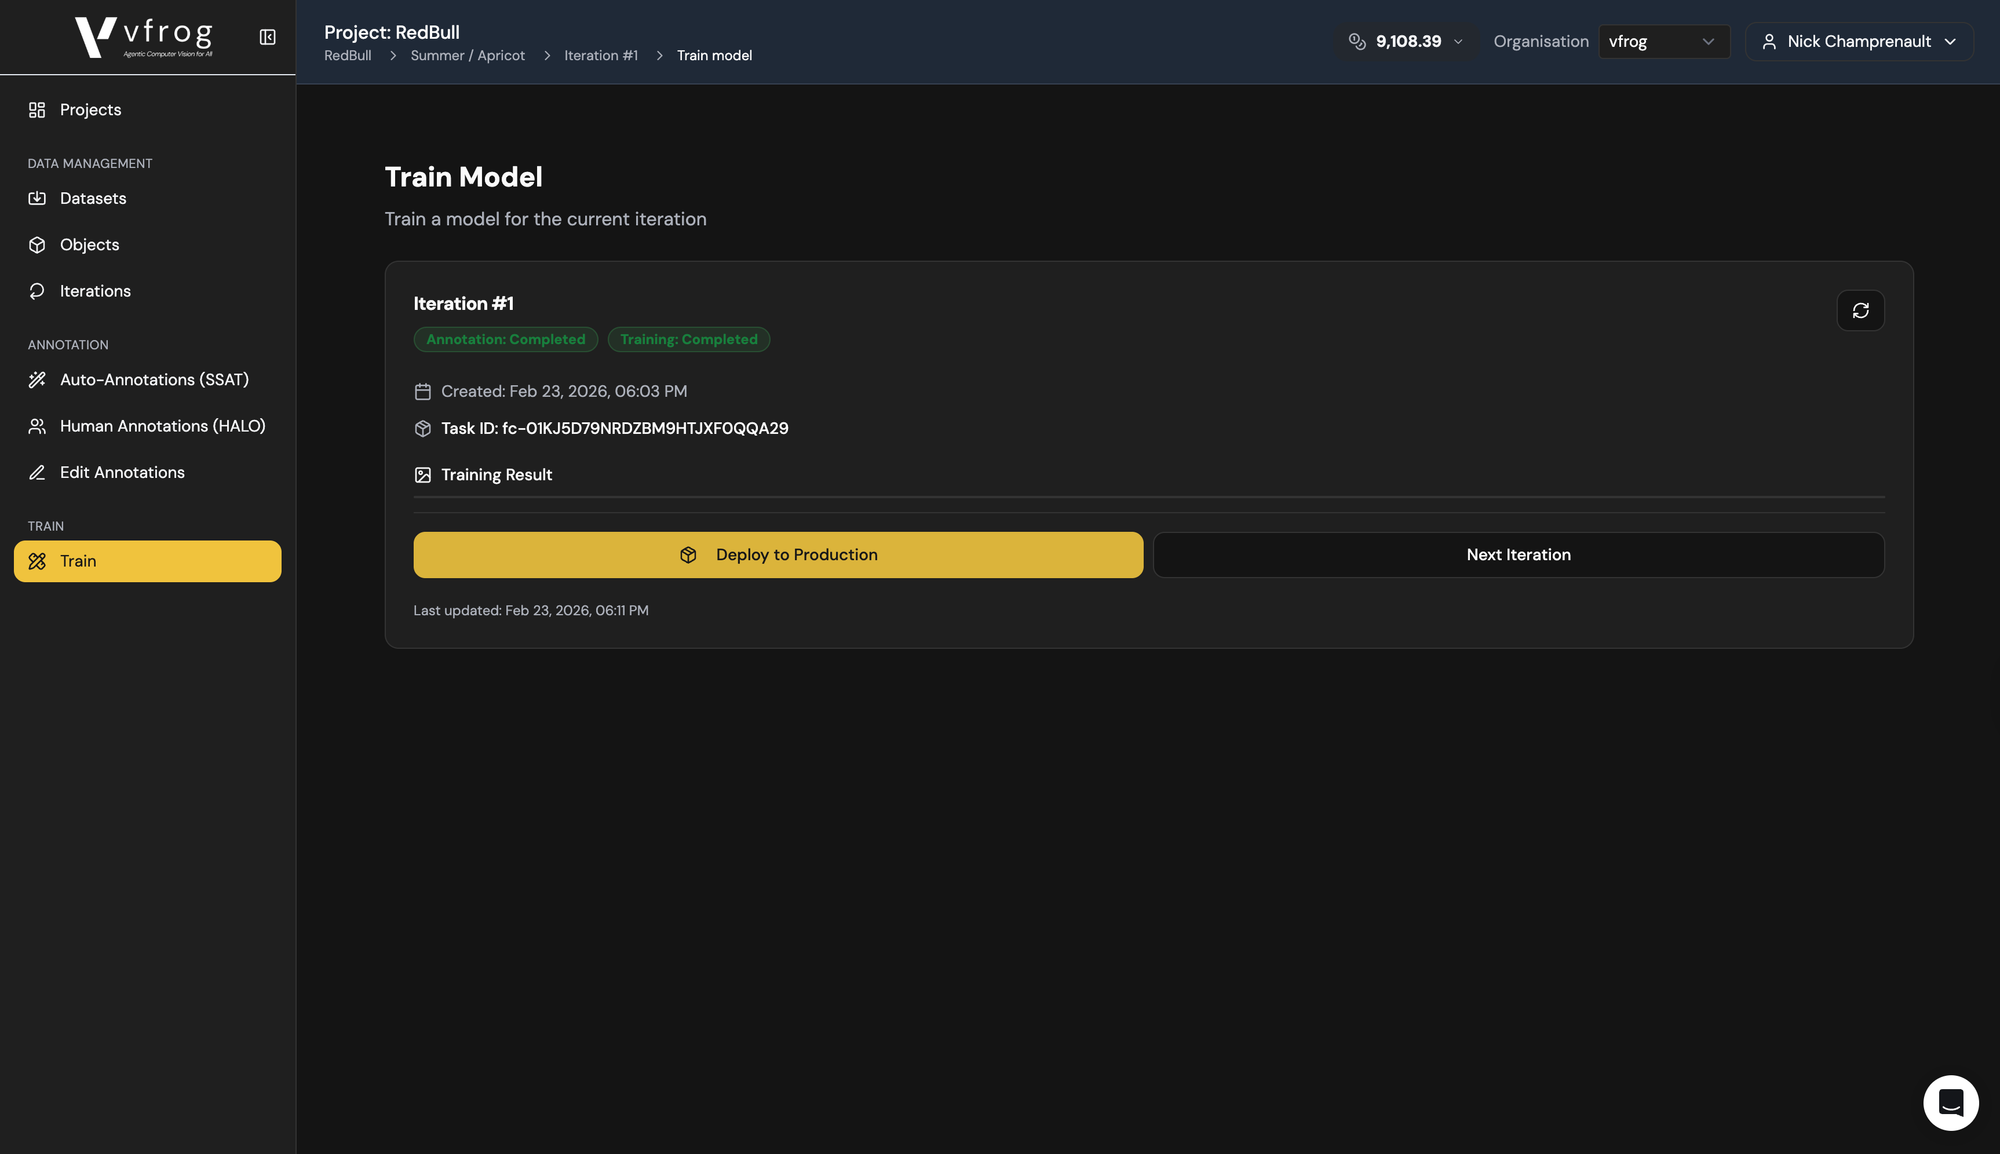
Step 9: Queue your model for training. After a brief wait (about a minute), deploy your model.
Step 10: Head to the Console and create an API Key:
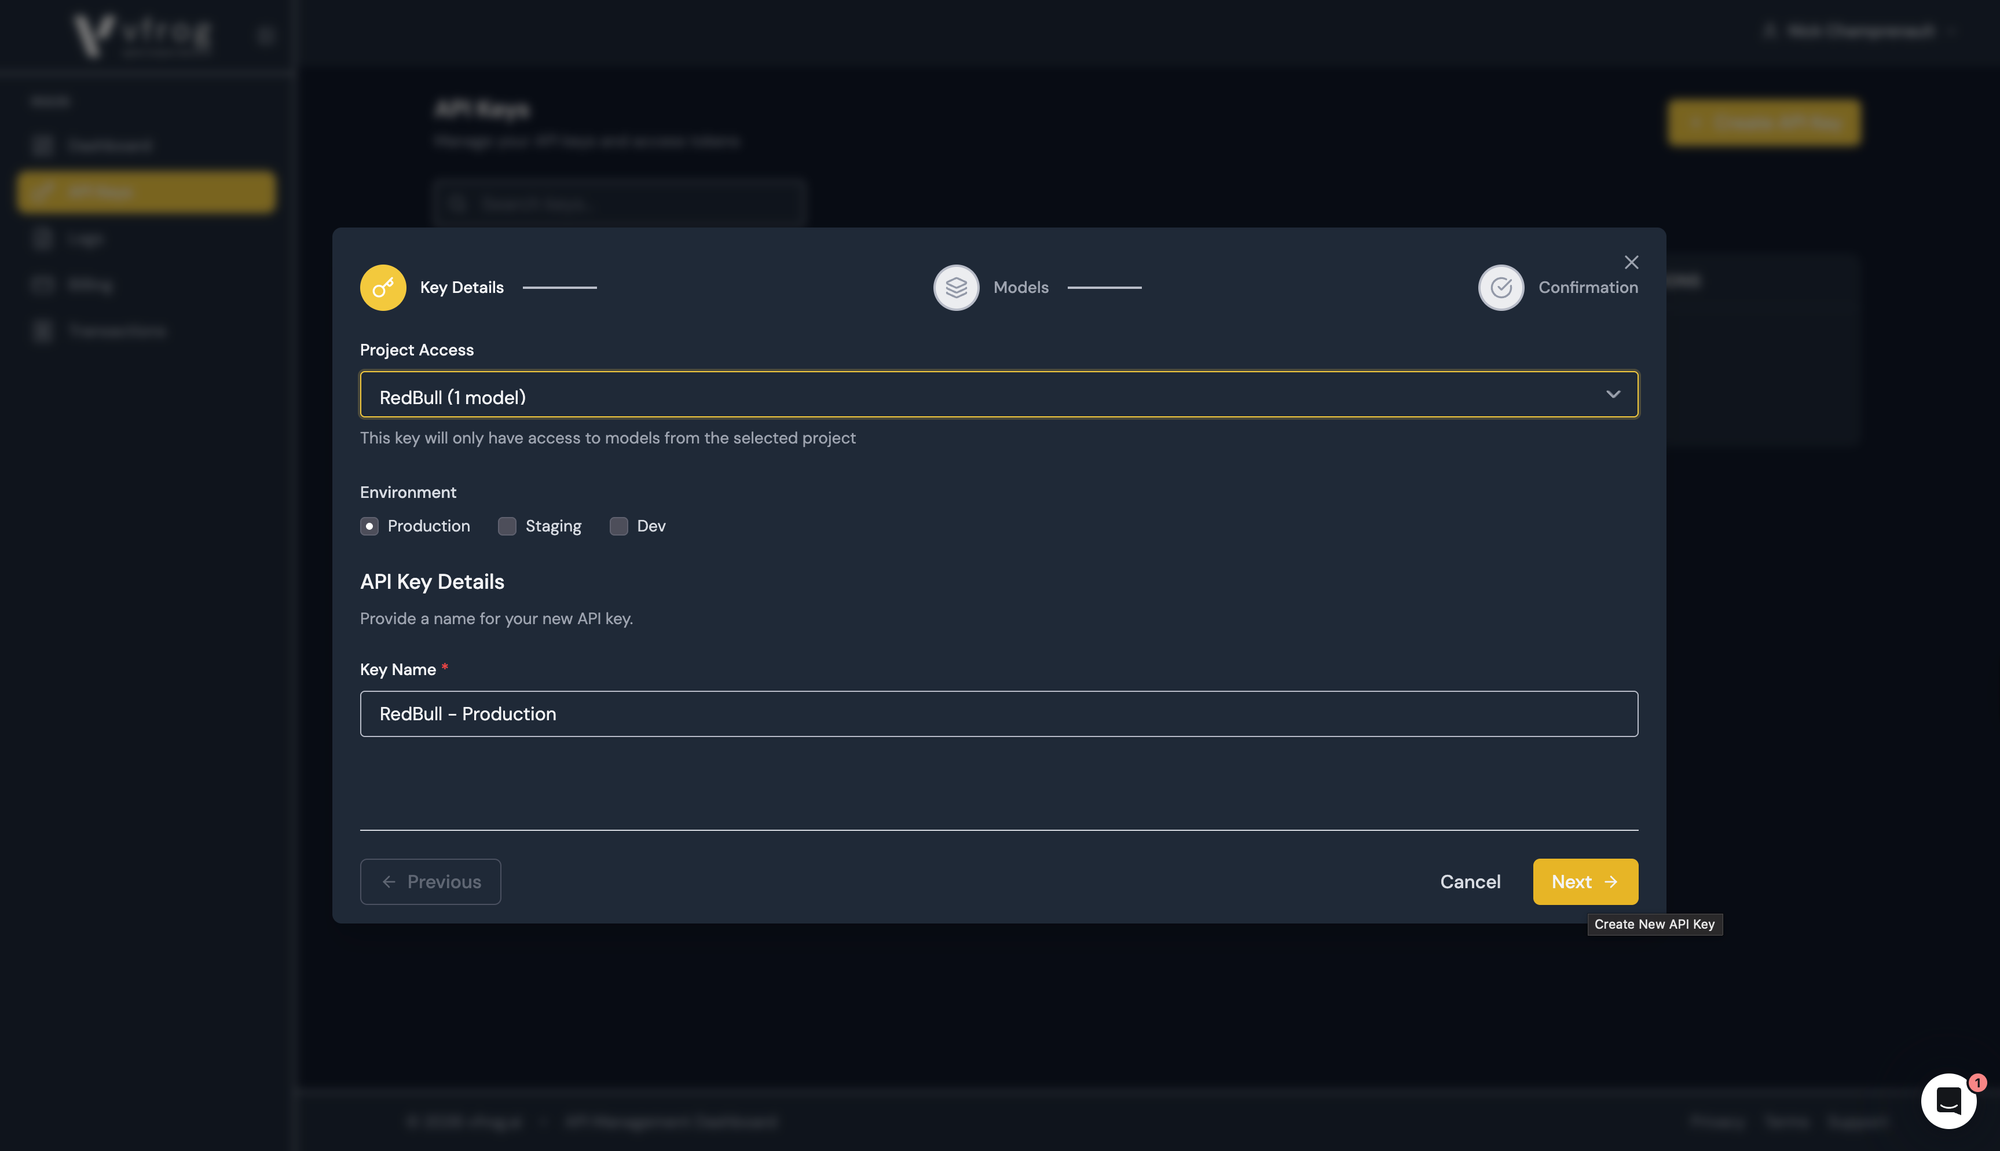
- Name your key.
- Add a description.
- Click Next.
- Select your freshly trained model and generate your key.
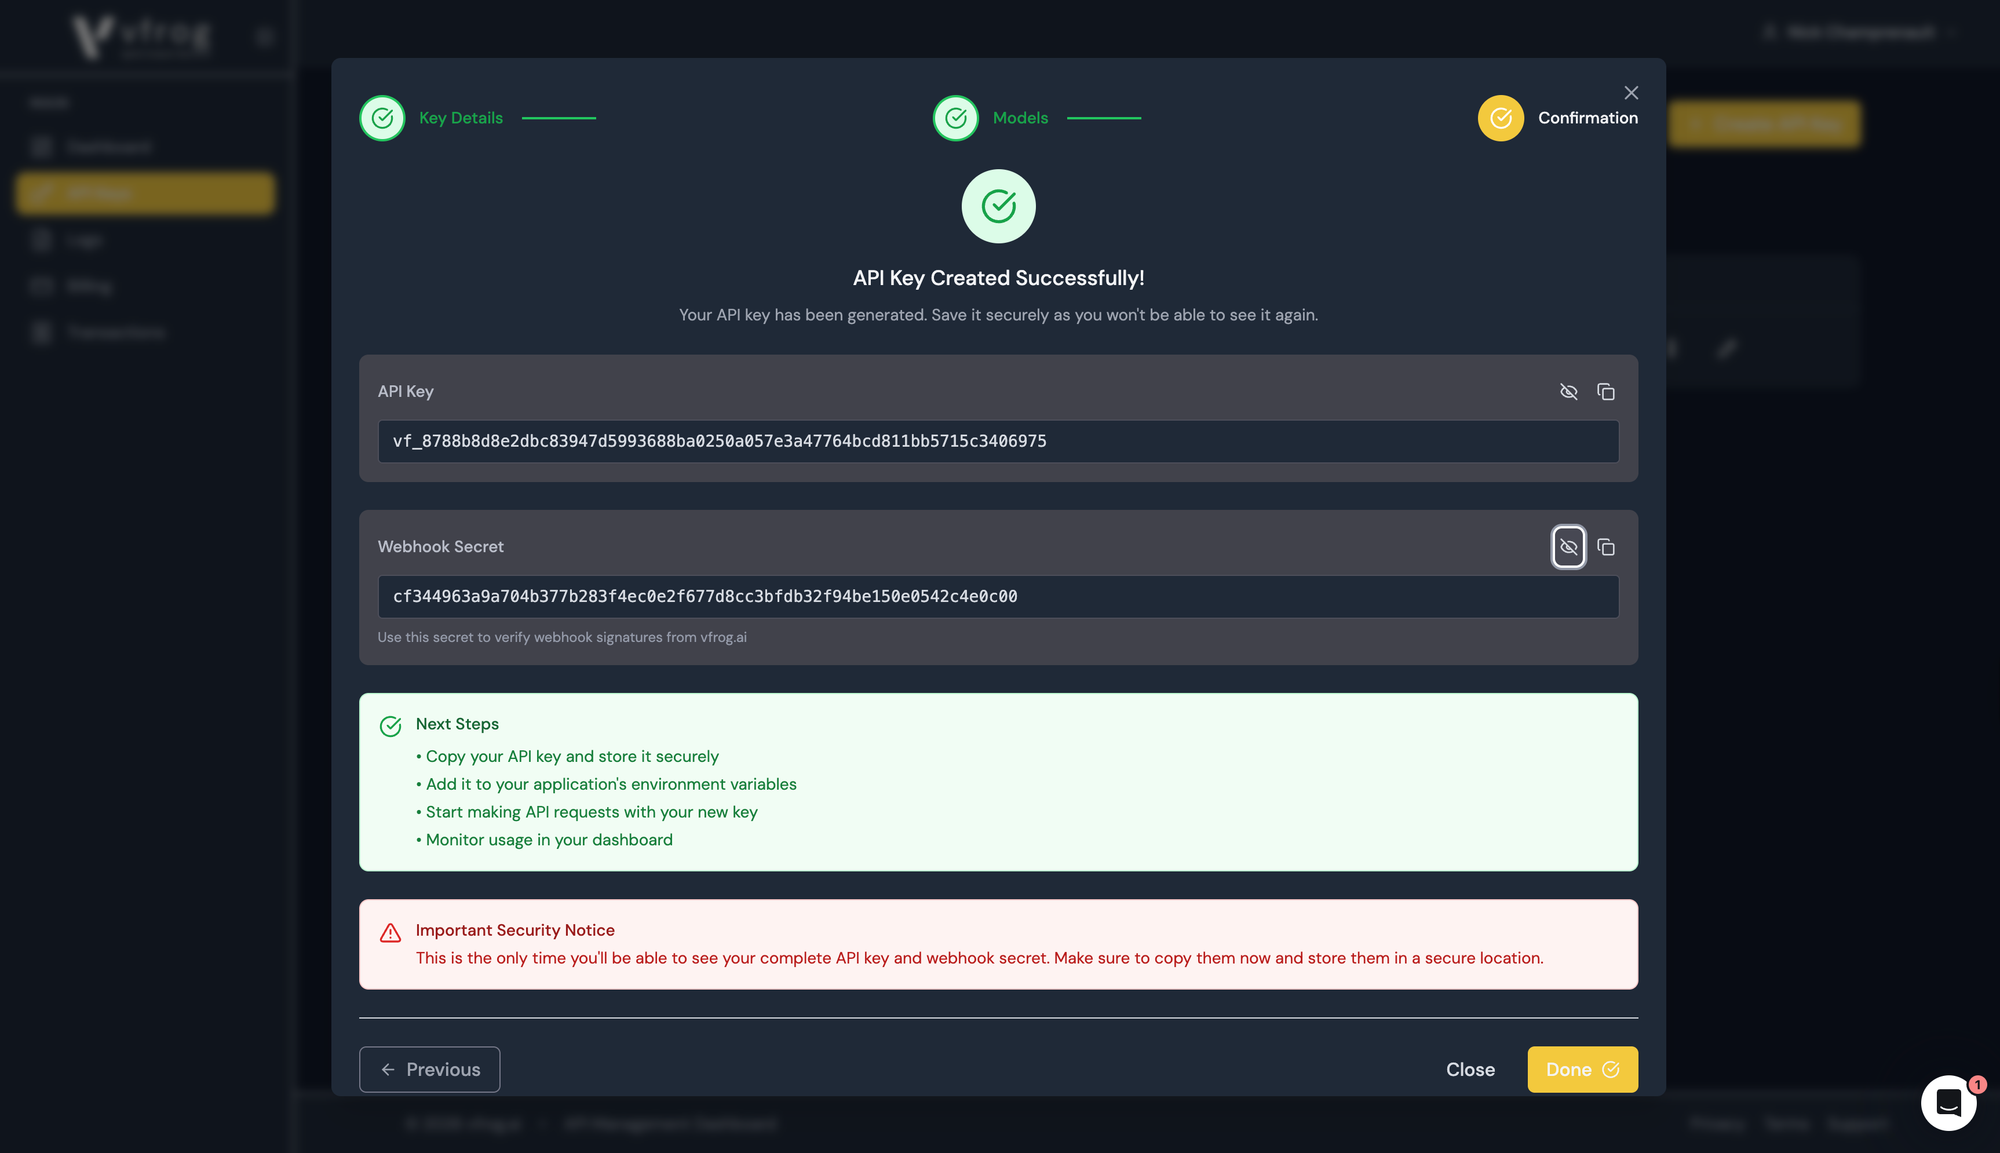
Step 11: Copy the API key and paste it into your codebase. Consult the documentation to integrate the API seamlessly.
That’s it! With monitoring tools, you’ll track API usage and know your object detection model is live and ready for production.